Running the LCD Built-In Self-Test on a Dell Laptop

This article provides information on how to run LCD Built-In Self-Test (BIST) diagnostics on a Dell laptop. The diagnosis of the integrated self-test … (BIST) of the LCD screen helps to analyze and identify if the screen problem on a Dell laptop is inherent to the LCD screen.
If a Dell laptop LCD screen exhibits any of the following symptoms, running a diagnostic test can help you determine if the display problem is inherent to the LCD screen. flicker Fuzzy, blurry, or distorted image Horizontal or vertical lines Geometric distortion or distorted image Distorted or faded colors Bright or dead pixels light leak Etched, luminous or black image Air bubbles or pockets If the display issue is related to a Dell monitor, refer to the Dell Knowledge Base article Running a Diagnostic Test on a Dell Monitor .
Cause
Display or video issues can be caused by outdated graphics drivers, hardware failure (LCD screen), or incorrect video settings on the computer.
Running a diagnostic test on the LCD helps identify if the problem is an inherent hardware problem with the LCD.
Resolution
Built-in self-test (BIST) of the LCD screen
Dell laptops have a built-in diagnostic tool that can help determine if the screen anomaly is an inherent problem with the Dell laptop’s LCD screen, video card (graphics processor), or computer display settings. If you notice any abnormalities such as flickering, distortion, clarity issues, fuzzy or fuzzy images, horizontal or vertical lines, fading colors, bubbles, it is recommended to isolate the LCD screen by running a diagnostic test. The LCD’s built-in self-test can be initiated in two ways:
Method 1:
Turn off the computer. Disconnect all peripherals connected to the computer. Connect the AC adapter (charger) to the computer. Make sure the LCD screen is clean (no dust particles on the surface of the screen).
Hold down the key Dand turn on the computer to enter LCD built-in self-test (BIST) mode. Hold down the key Duntil you see color bars on the LCD screen.
The screen displays multiple color bars and turns black, white, red, green, and blue. Examine the screen carefully for any abnormalities.
Press the key to exit.
If the screen anomaly is not present in the built-in self-test mode, refer to the Dell Knowledge Base article Troubleshooting Display or Video Problems on a Dell Laptop .
If the screen fault is present in Built-In Self-Test mode, contact Dell Technical Support for repair options available at your location.

Method 2
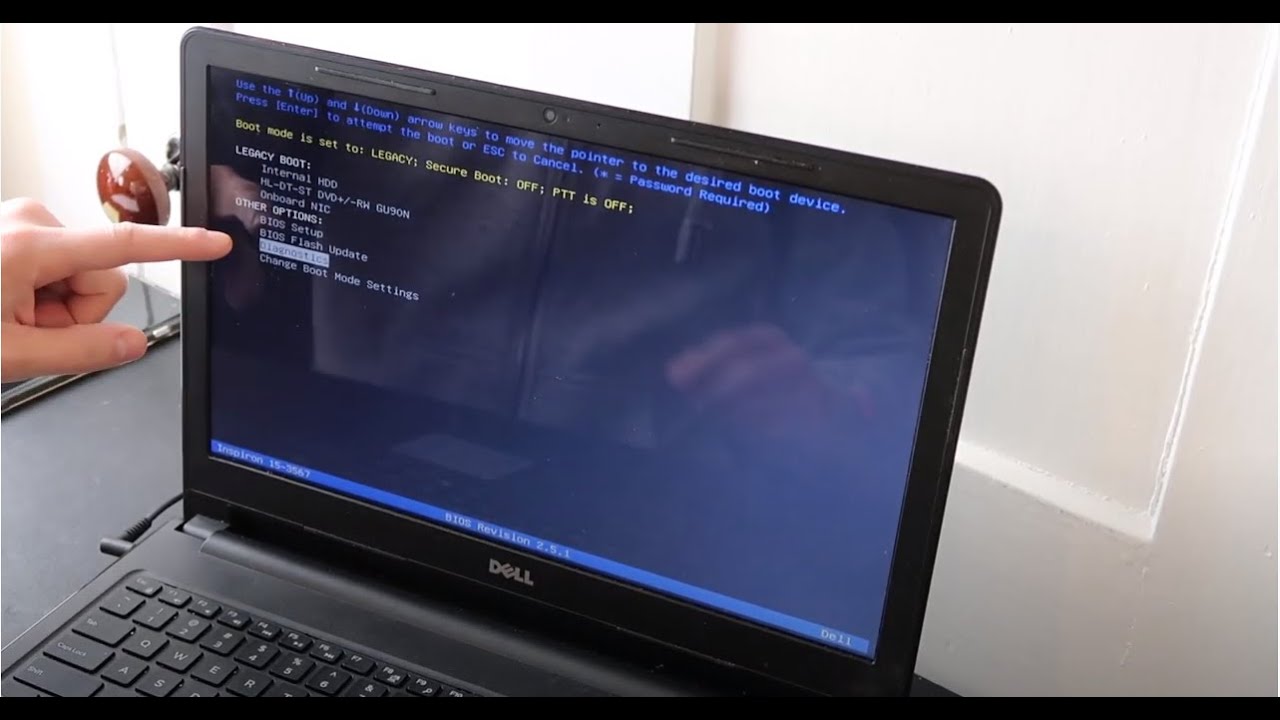
Turn off the computer. Disconnect all peripherals connected to the computer. Connect the AC adapter (charger) to the computer. Make sure the LCD screen is clean (no dust particles on the surface of the screen). Hold down the key Fnand turn on the computer to enter pre-boot diagnostic mode. Hold down the key Fnuntil the pre-boot diagnostics screen is displayed.
Note: The SupportAssist Pre-boot System Assessment or Enhanced Pre-Boot System Assessment (ePSA) diagnostic test checks the hardware and reports hardware errors. Write down the error code or error message, validation code, and contact Dell Technical Support for repair options available at your site.
At the message “Do you see the color bars?” Yes/No”, press the key Nto enter LCD built-in self-test mode.
Note: If you do not respond for 30 seconds, the diagnostic test assumes your answer is No and enters the LCD’s built-in self-test (BIST).
The screen displays multiple color bars and turns black, white, red, green, and blue.
Examine the screen carefully for any abnormalities.
The computer restarts as soon as the remaining tests are completed.
If the screen anomaly is not present in the built-in self-test mode, refer to the Dell Knowledge Base article Troubleshooting Display or Video Problems on a Dell Laptop .
If the screen fault is present in Built-In Self-Test mode, contact Dell Technical Support for repair options available at your location. Thanks for visiting our website.


